

 23
23
There are lots of cables in each bay, including the cables that go to each of our screens we use for lessons. Please follow the directions below to make sure everything is hooked up correctly.
On the back of your computer, you will have a component that looks like this, this is your GPU. It may be horizontal or vertical on the computer, just look for a component that looks like this. It may have cables plugged into it already.
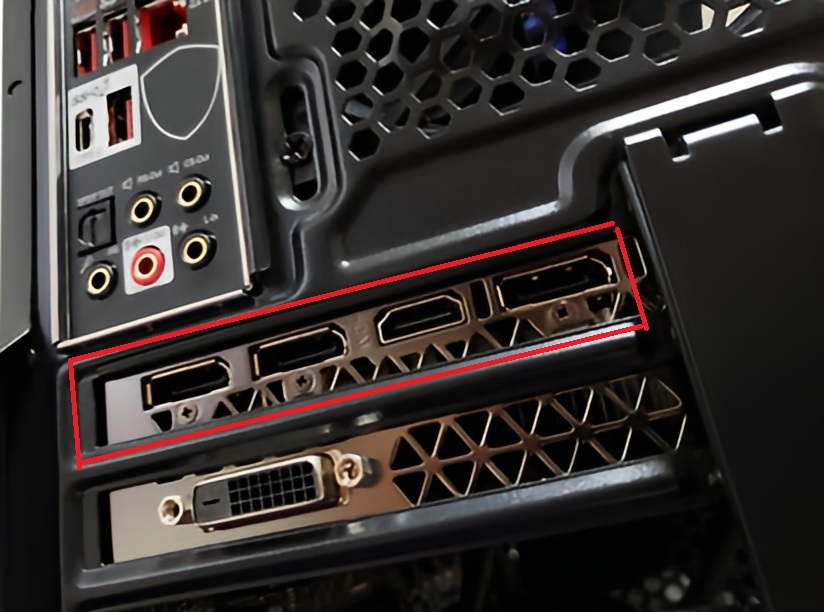
There are 4 ports, 3 DisplayPort and 1 HDMI.

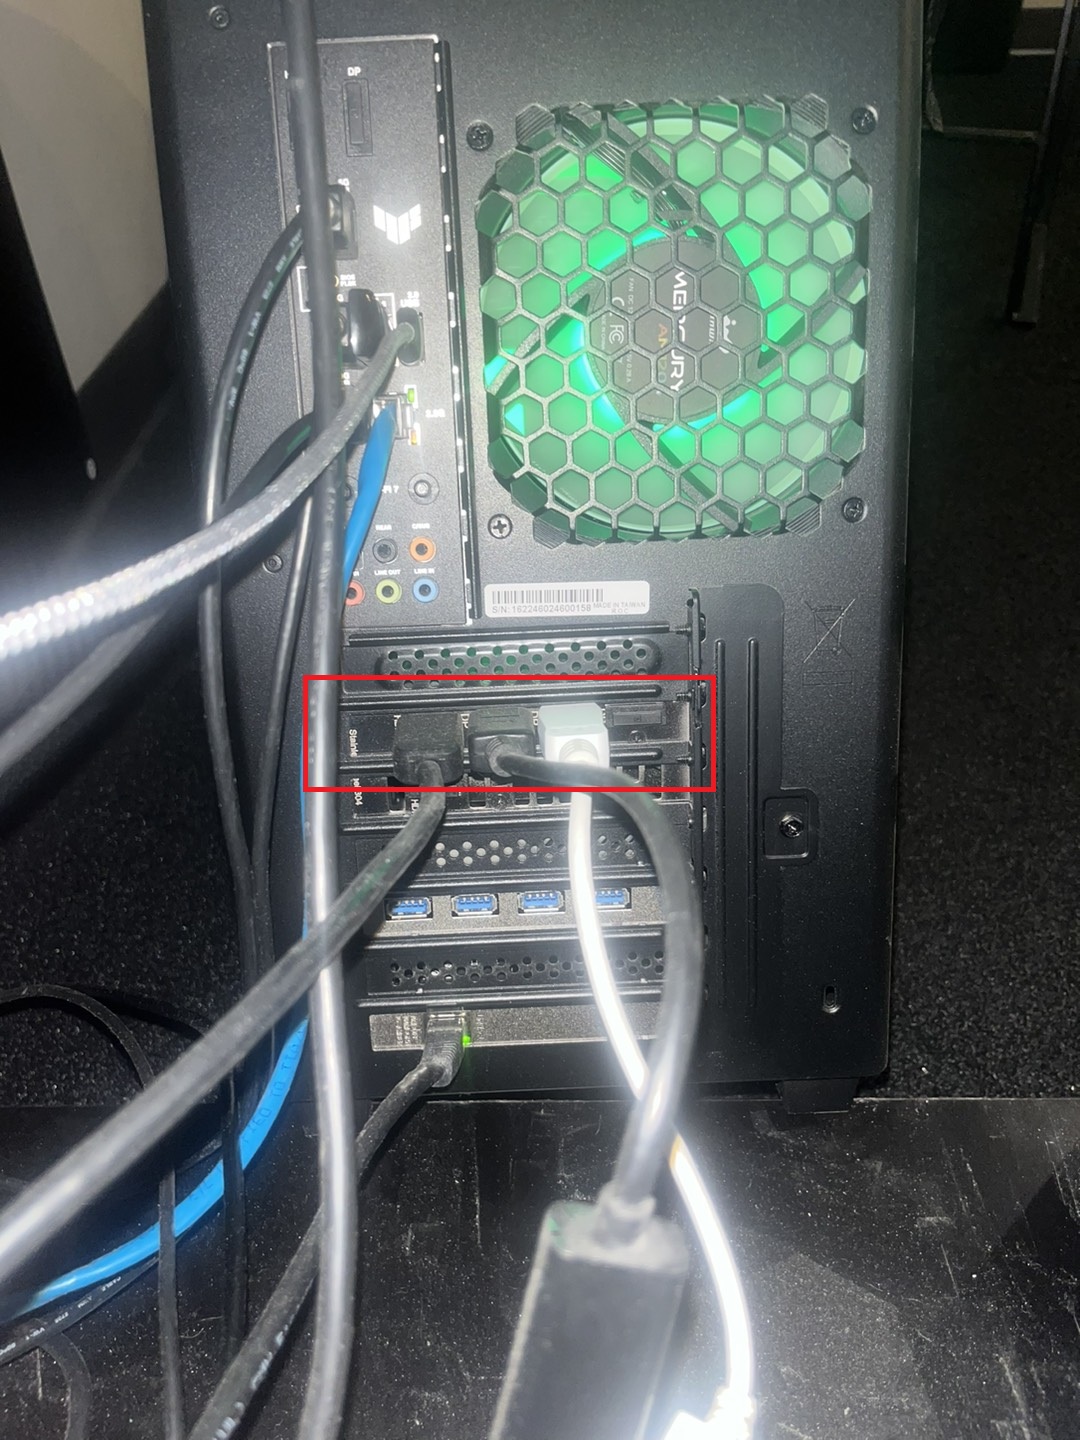
Now that we know where the GPU is, we need to connect each monitor to it.
1. Make sure the coach monitor is connected to the HDMI port on the GPU. Take an HDMI cable directly from the coach monitor to the computer and the monitor should turn on by itself.
For the next two monitors, there will need to be an adapter:
The white cable above is a DisplayPort adapter. This converts an HDMI signal to a DisplayPort signal. There will be two of these plugged in to your GPU.
2. Take a DisplayPort adapter and connect it to the GPU in any one of the open ports, then take the HDMI that goes to your student screen and plug it in to the adapter. In all bays, the HDMI cable that goes to your student screen will be routed through the wall so no cable is lying on the ground or hanging, if this is a lefty/righty bay, please refer below to see how to connect this to the splitter.
3. Same process for the projector, take a DisplayPort adapter and connect it to the GPU in any open port and then connect the HDMI that goes to the projector to the adapter.
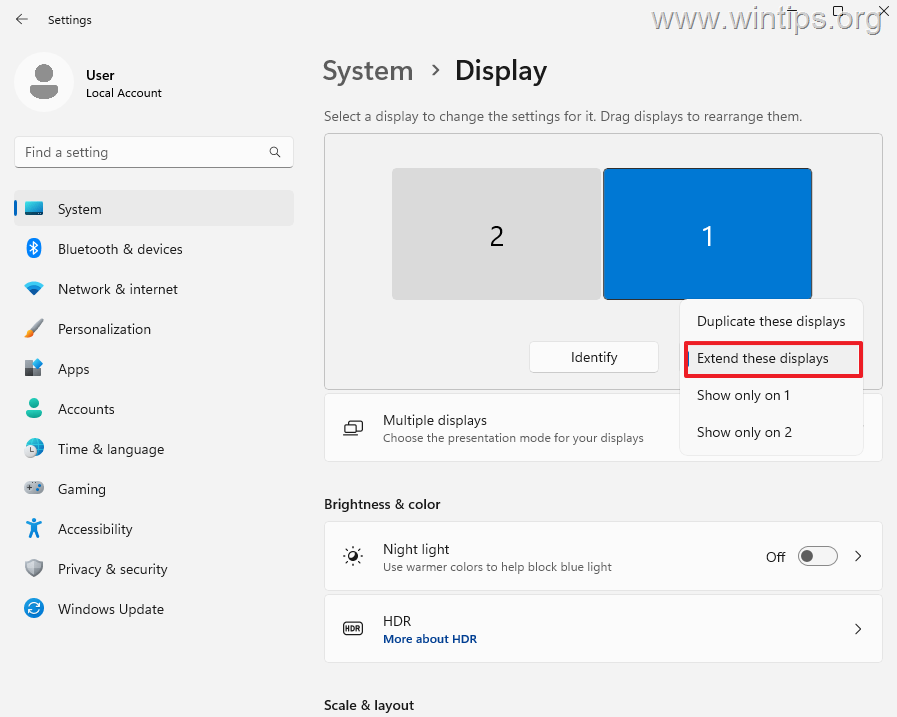
Once all of those are connected, go to the windows settings and make sure the correct resolution and scaling settings are applied and that they are in the orientation you want them to be in. Additionally, if any of your displays are duplicating each other when they shouldn't be, make sure they are set to 'extend' instead of 'duplicate'
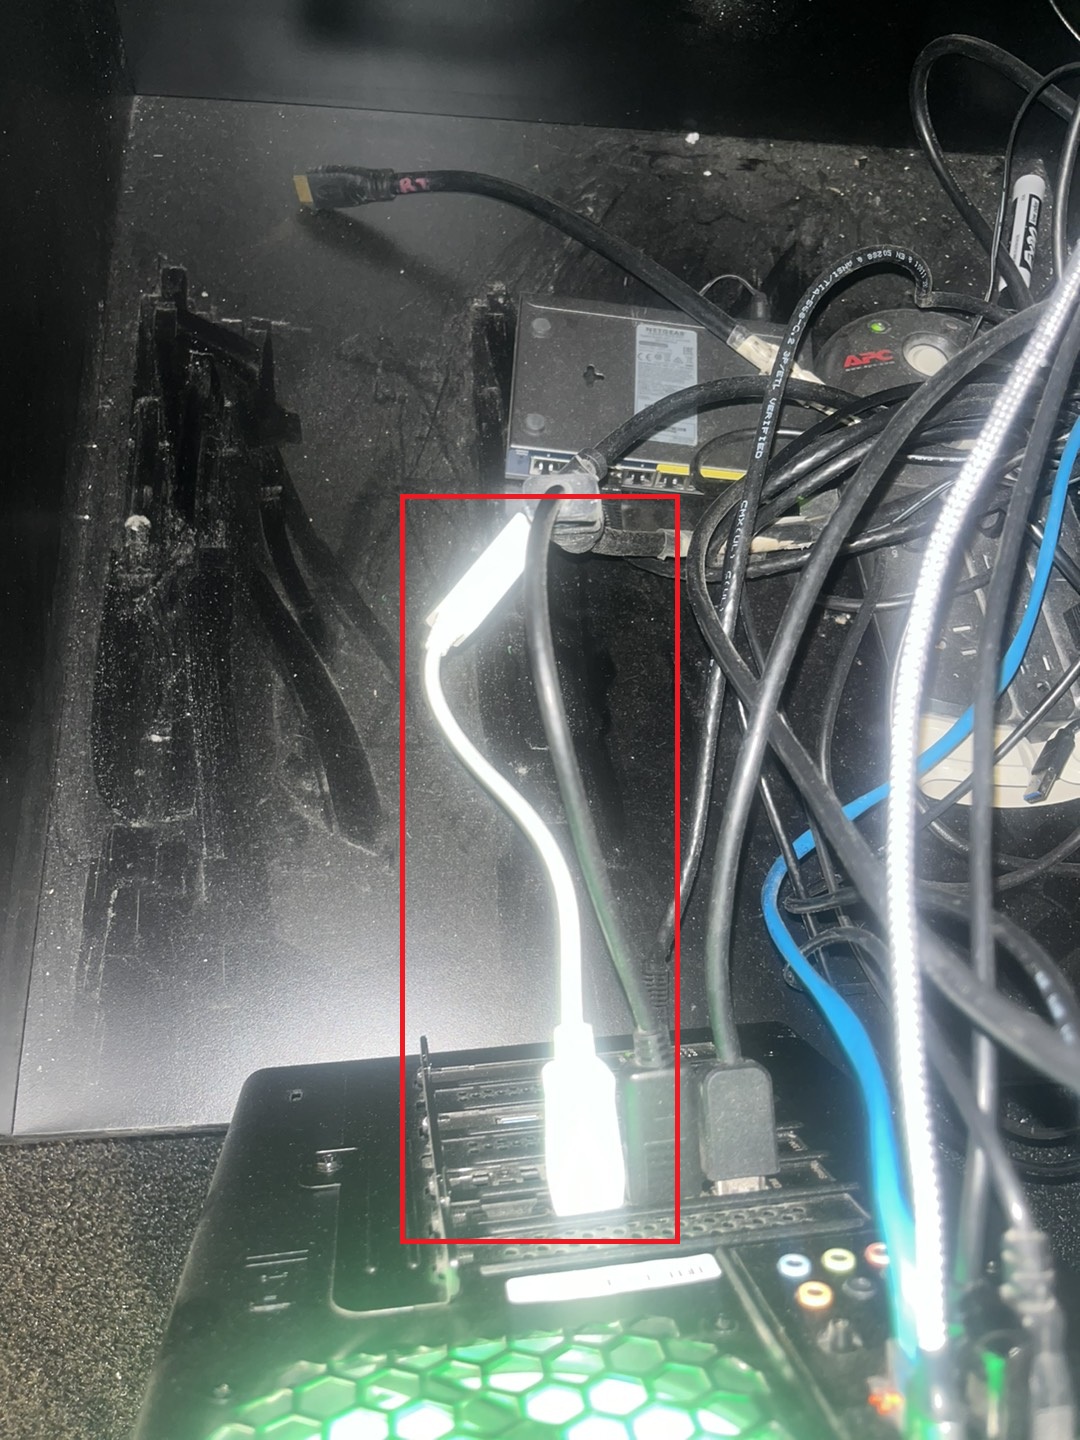
If this is a lefty/righty bay, you need to have your student screens hooked up through a splitter, this will duplicate the displays so they show the same thing. Look for a piece of hardware like the one below. Most will have 1 input and 4 outputs, but yours may look a little different.
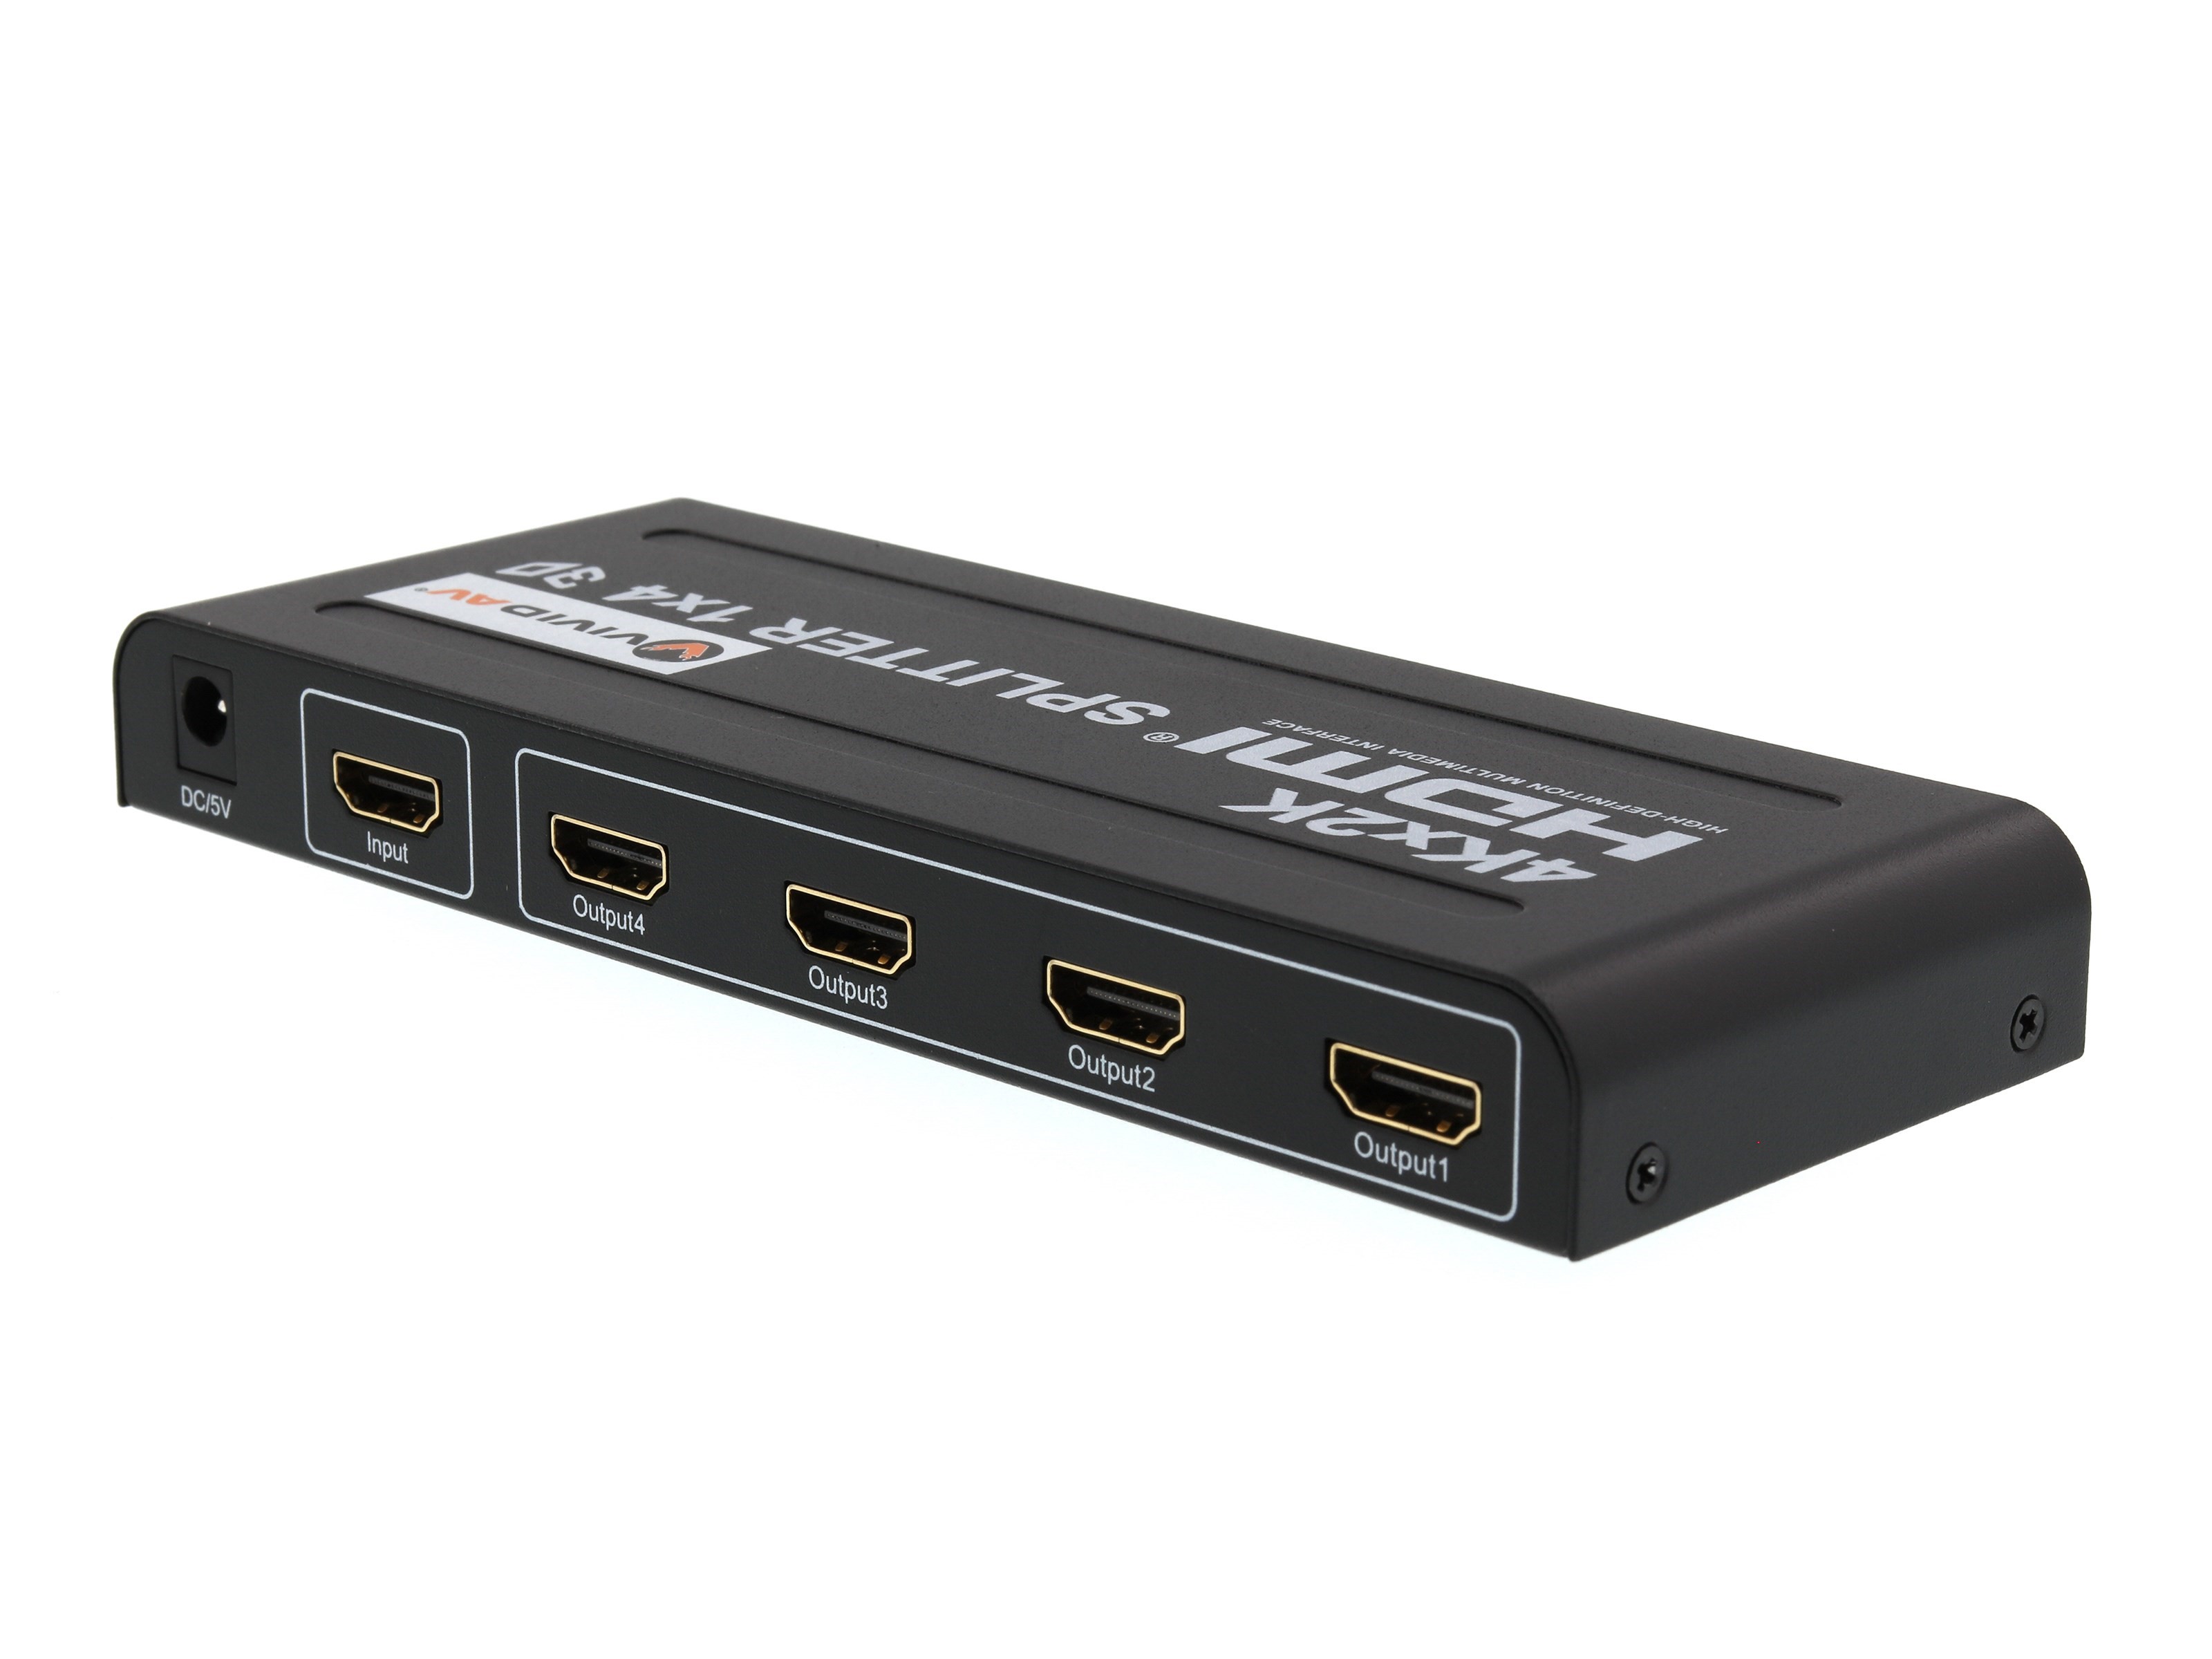
Take the HDMI that we connected to the DisplayPort adapter and plug it into the 'IN' or 'Input' port, then plug the two HDMI cables coming from the wall that go to the student screens into any of the 'OUT' or 'Output' ports, then continue following the rest of the instructions above.
This will ensure everything is hooked up correctly in your bay as far as displays. If you are still having issues with one or more of your displays, let a tech know which ones. There could be a bad HDMI cable, splitter, or DisplayPort adapter causing the failure. Or it could be something more serious like a bad GPU if none are displaying any output while the computer is turned on.

